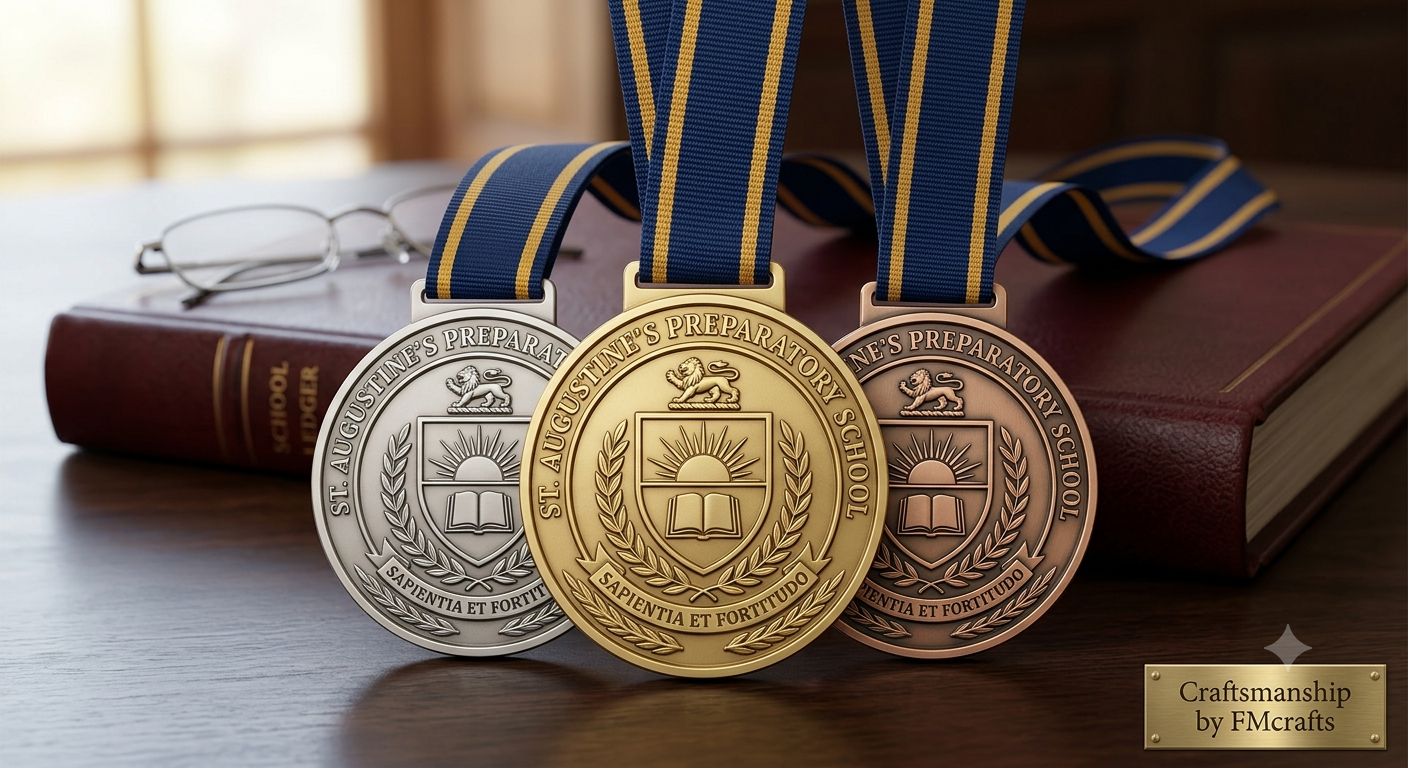
Every medal that leaves our foundry follows the same six-stage path, from a rough concept sketch to a finished piece in a box. Here's what actually happens at each step.
1. Concept and sketch
We start with a conversation about the achievement being marked, then translate any logo, wording, or symbolism into a hand-drawn concept. This is the cheapest stage to make changes, so we'd rather iterate here than after tooling begins.
2. Digital rendering and die proof
Once a concept is approved, our engravers build a digital relief model and produce a die proof — a flat rendering that shows exactly how depth, lettering, and texture will look once struck. Nothing goes to tooling until this proof is signed off.
3. Mould and die cutting
All tooling is cut in-house, which is what lets us guarantee a design stays exclusive to your order rather than sitting in a shared catalogue.
4. Casting or striking
Depending on the design's depth and detail, we either cast the piece in molten metal or strike it under heavy press pressure — the same fundamental technique used for coinage for centuries.
5. Finishing
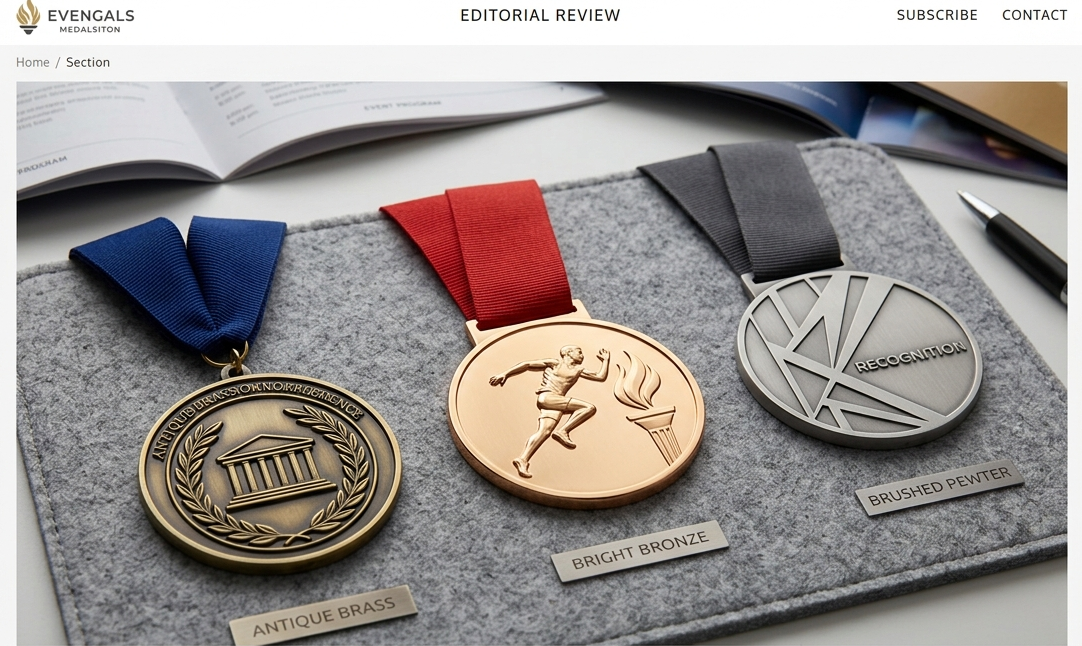
Antiquing, plating, and any enamel fill are applied and inspected by hand, piece by piece, rather than run through an automated batch process.
6. Ribbon, packaging, and shipping
Ribbons are cut and attached last, and pieces are boxed to arrive ready for presentation, not for you to unpack and inspect one by one.
Ready to start your own design?
Share a few details and we'll send a free concept and quote within two business days.